Have you ever wanted to install ESXi on a host that doesn’t have a CD-ROM drive? Maybe you also don’t have a TFTP server, so installing over the network isn’t an option either. I came across this situation at a customer site recently.
It turns out the easiest solution in this situation is to convert a USB thumb drive into a bootable installation key. VMware’s online documentation describes how to do this. The thing is, the instructions I could find were for using a Linux system to create the key and my work-issued laptop runs Windows.
It turns out you can use your Windows system to create the installation media, and it’s pretty easy. This post will walk you through the process.
What You’ll Need
To do this, you’ll need four things:
- Your Windows laptop
- A USB thumb drive
(The vSphere 5.1 installation media will end being between 290 and 330MB, so a 1GB drive will do just fine.) - The vSphere ISO you want to install — you can download the latest version from VMware: licensed copies here and free evaluation copies here
- A copy of the Linux Live USB Creator utility — you can download it here
Getting Ready to Start
Download the vSphere ISO matching the version you want to install. Keep note of where you save it.
Download and install the Linux Live USB Creator. It will show up on your Start Menu as “LiLi USB Creator”.
Plug the thumb drive you want to use into your laptop’s USB port. If there’s any data on it that you want to keep, save a copy now. During the process, you’ll be reformatting the drive.
Format Your USB Drive
Run the Windows Command Prompt utility. (Click on Start, and type “cmd” in the search box. Select “cmd.exe” when it shows up.) In the window that pops up, type the following command:
diskpart
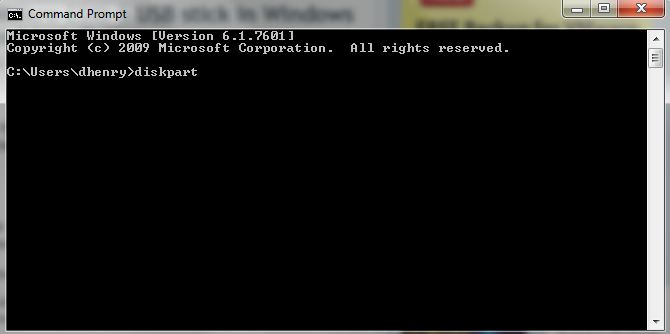 The program needs to be run as Administrator. Depending on how your Windows system is configured, you may get prompted to give diskpart permission to run. If you are, click “yes”.
In the new window that pops up, type the following command:
list disk
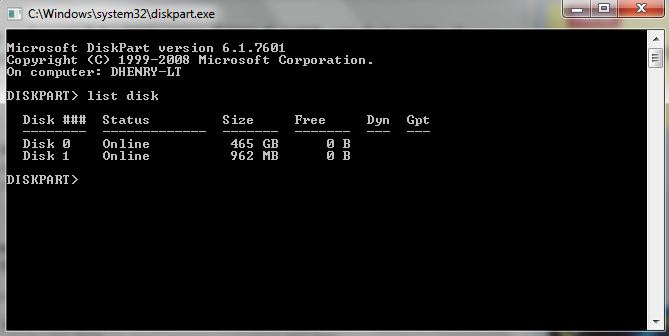 Open Windows Explorer and select “Computer” in the left-hand pane. Use this view to double-check the size information for the USB drive you’re using and compare it to the response of the diskpart “list disk” command. You want to make sure you get the next step right — you want to format the USB key, not your hard drive…
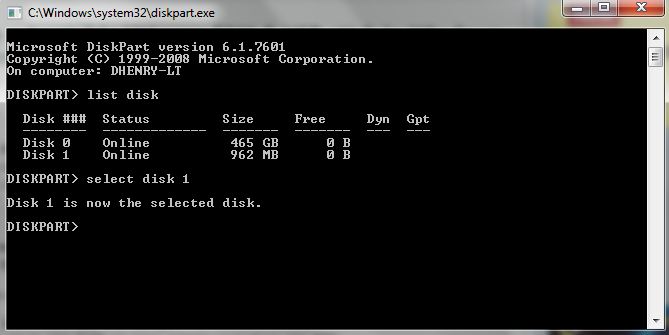
In the diskpart utility, type the following command:
select disk <number of your USB drive>
For example, the drive I’m using is highlighted in the explorer view below. As you can see, it’s a 1GB drive (Windows sees 961MB):
 Compare this to the info in from the diskpart “list disk” command above. Diskpart sees “Disk 1” as 962MB (it’s common to see rounding differences like this), so the command I would type in diskpart is:
select disk 1
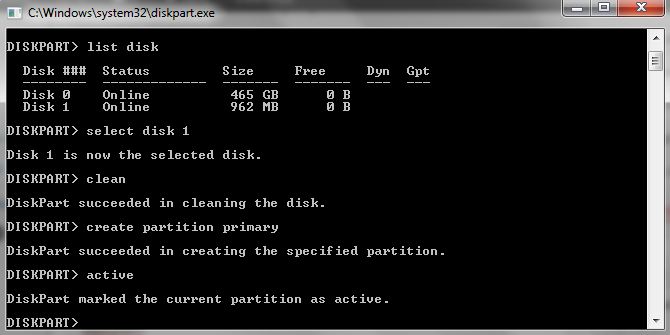
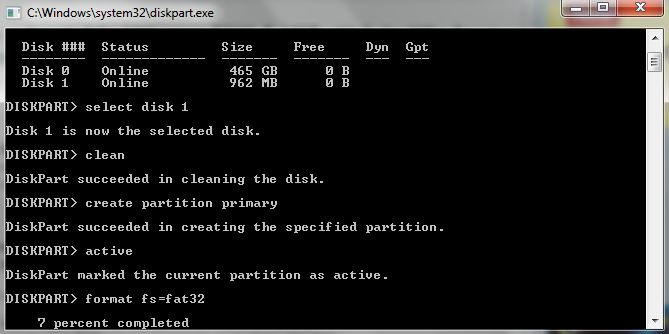
 Now, you’ll clean the USB drive and select the partition that you’ll be installing the software on by typing the following commands in diskpart:
clean
create partition primary
active
 If you’re creating your USB key the night before you’re going to perform your vSphere installation, type the following command in diskpart, which will do a full format:
format fs=fat32
If, however, you’re already at the customer site and need to do the install right now, type the following command in diskpart:
format fs=fat32 quick
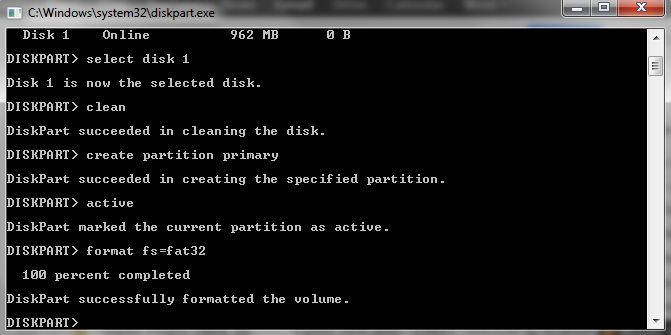
 Wait for the format to complete. On my system, the full format of a 1GB USB drive took about 4 minutes. The quick version of the format will be almost instant, but is less thorough.
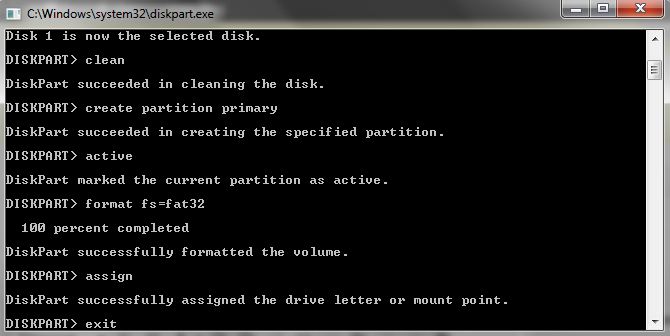
 Once it’s complete, type the following commands in diskpart to make sure the USB drive is assigned a drive letter and exit diskpart:
assign
exit
 Install the Image on the USB Drive
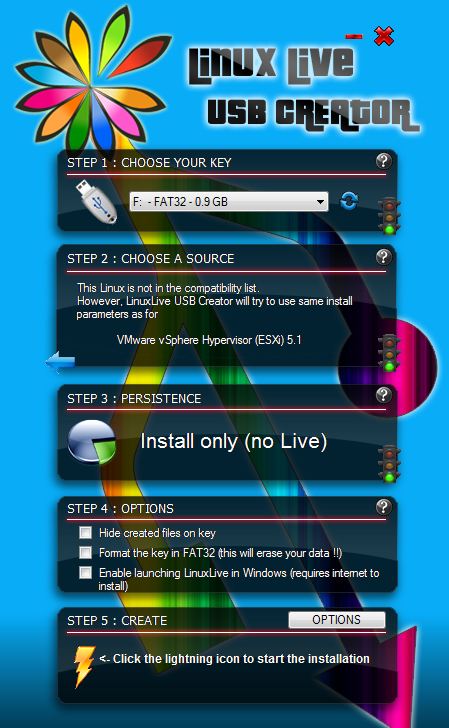
Start the LiLi USB Creator utility. It will look something like this:
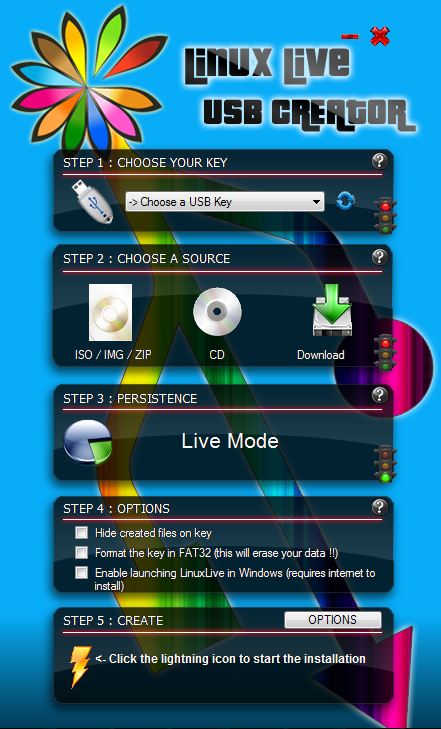 Click on the drop-down menu in Step 1 and select your USB drive.
In Step 2, choose the image you want to install on the USB drive. If you downloaded an ISO image, click on “ISO / IMG / ZIP” and browse to the location of the image, then select it. If you want to make a bootable USB key from an install CD, click on “CD”.
Step 3 will take care of itself. Wait for it to say “Install only (no Live)”.
In Step 4, make sure all the checkboxes are unselected.
When you’ve completed these steps, LiLi will look like this:
 Click on the lightning bolt in Step 5, and LiLi will extract the files and install them on the USB key for you. When LiLi completes, it will bring you to their webpage. The process took a little over 3 minutes on my system.
Exit the webpage, exit LiLi, and eject your USB drive.
Installing vSphere From Your USB Drive
Enter the BIOS configuration utility on your host. Look for options for boot order. Make sure USB devices are earlier than any internal storage on the host. It may be that way by default, or you may need to edit.
Insert the USB key in the host’s USB port. Save your changes to the BIOS, and reboot your host. The host will boot off of the image on the USB drive, and start up the install scripts.
Taking Things Further
Interested in automating your installs and configurations? Ivo Beerens has a great blog post here that describes not only creating the USB key, but also how to create a Kickstart configuration file to have a scripted install automatically configure the ESXi installation options for you.