[Disclaimer: I received no consideration for reviewing this product. It’s something I purchased on my own. The gentleman responsible for the product is aware I’ll be posting this (we exchanged some tweets), but has made no attempt to influence it.]
Everybody knows I love whiteboards. So, when I first learned of DrawAttention‘s product — a vinyl decal for adding a whiteboard surface to a laptop — it should come as no surprise that I ordered one a couple hours later. Specifically, I ordered the decal for my MacBook Air. I thought about ordering one for my work laptop, but there are too many stickers on it that I’m not ready to give up.
Here are my thoughts on the product.
The Packaging
I have to admit that I was surprised when my decal arrived. Not that it had arrived, but that it came in such an enormous envelope. To show I’m not exaggerating, here’s a picture of me with the envelope:

Me with the enormous envelope.
Here’s another picture of the envelope with the MacBook that the decal inside will be going on:
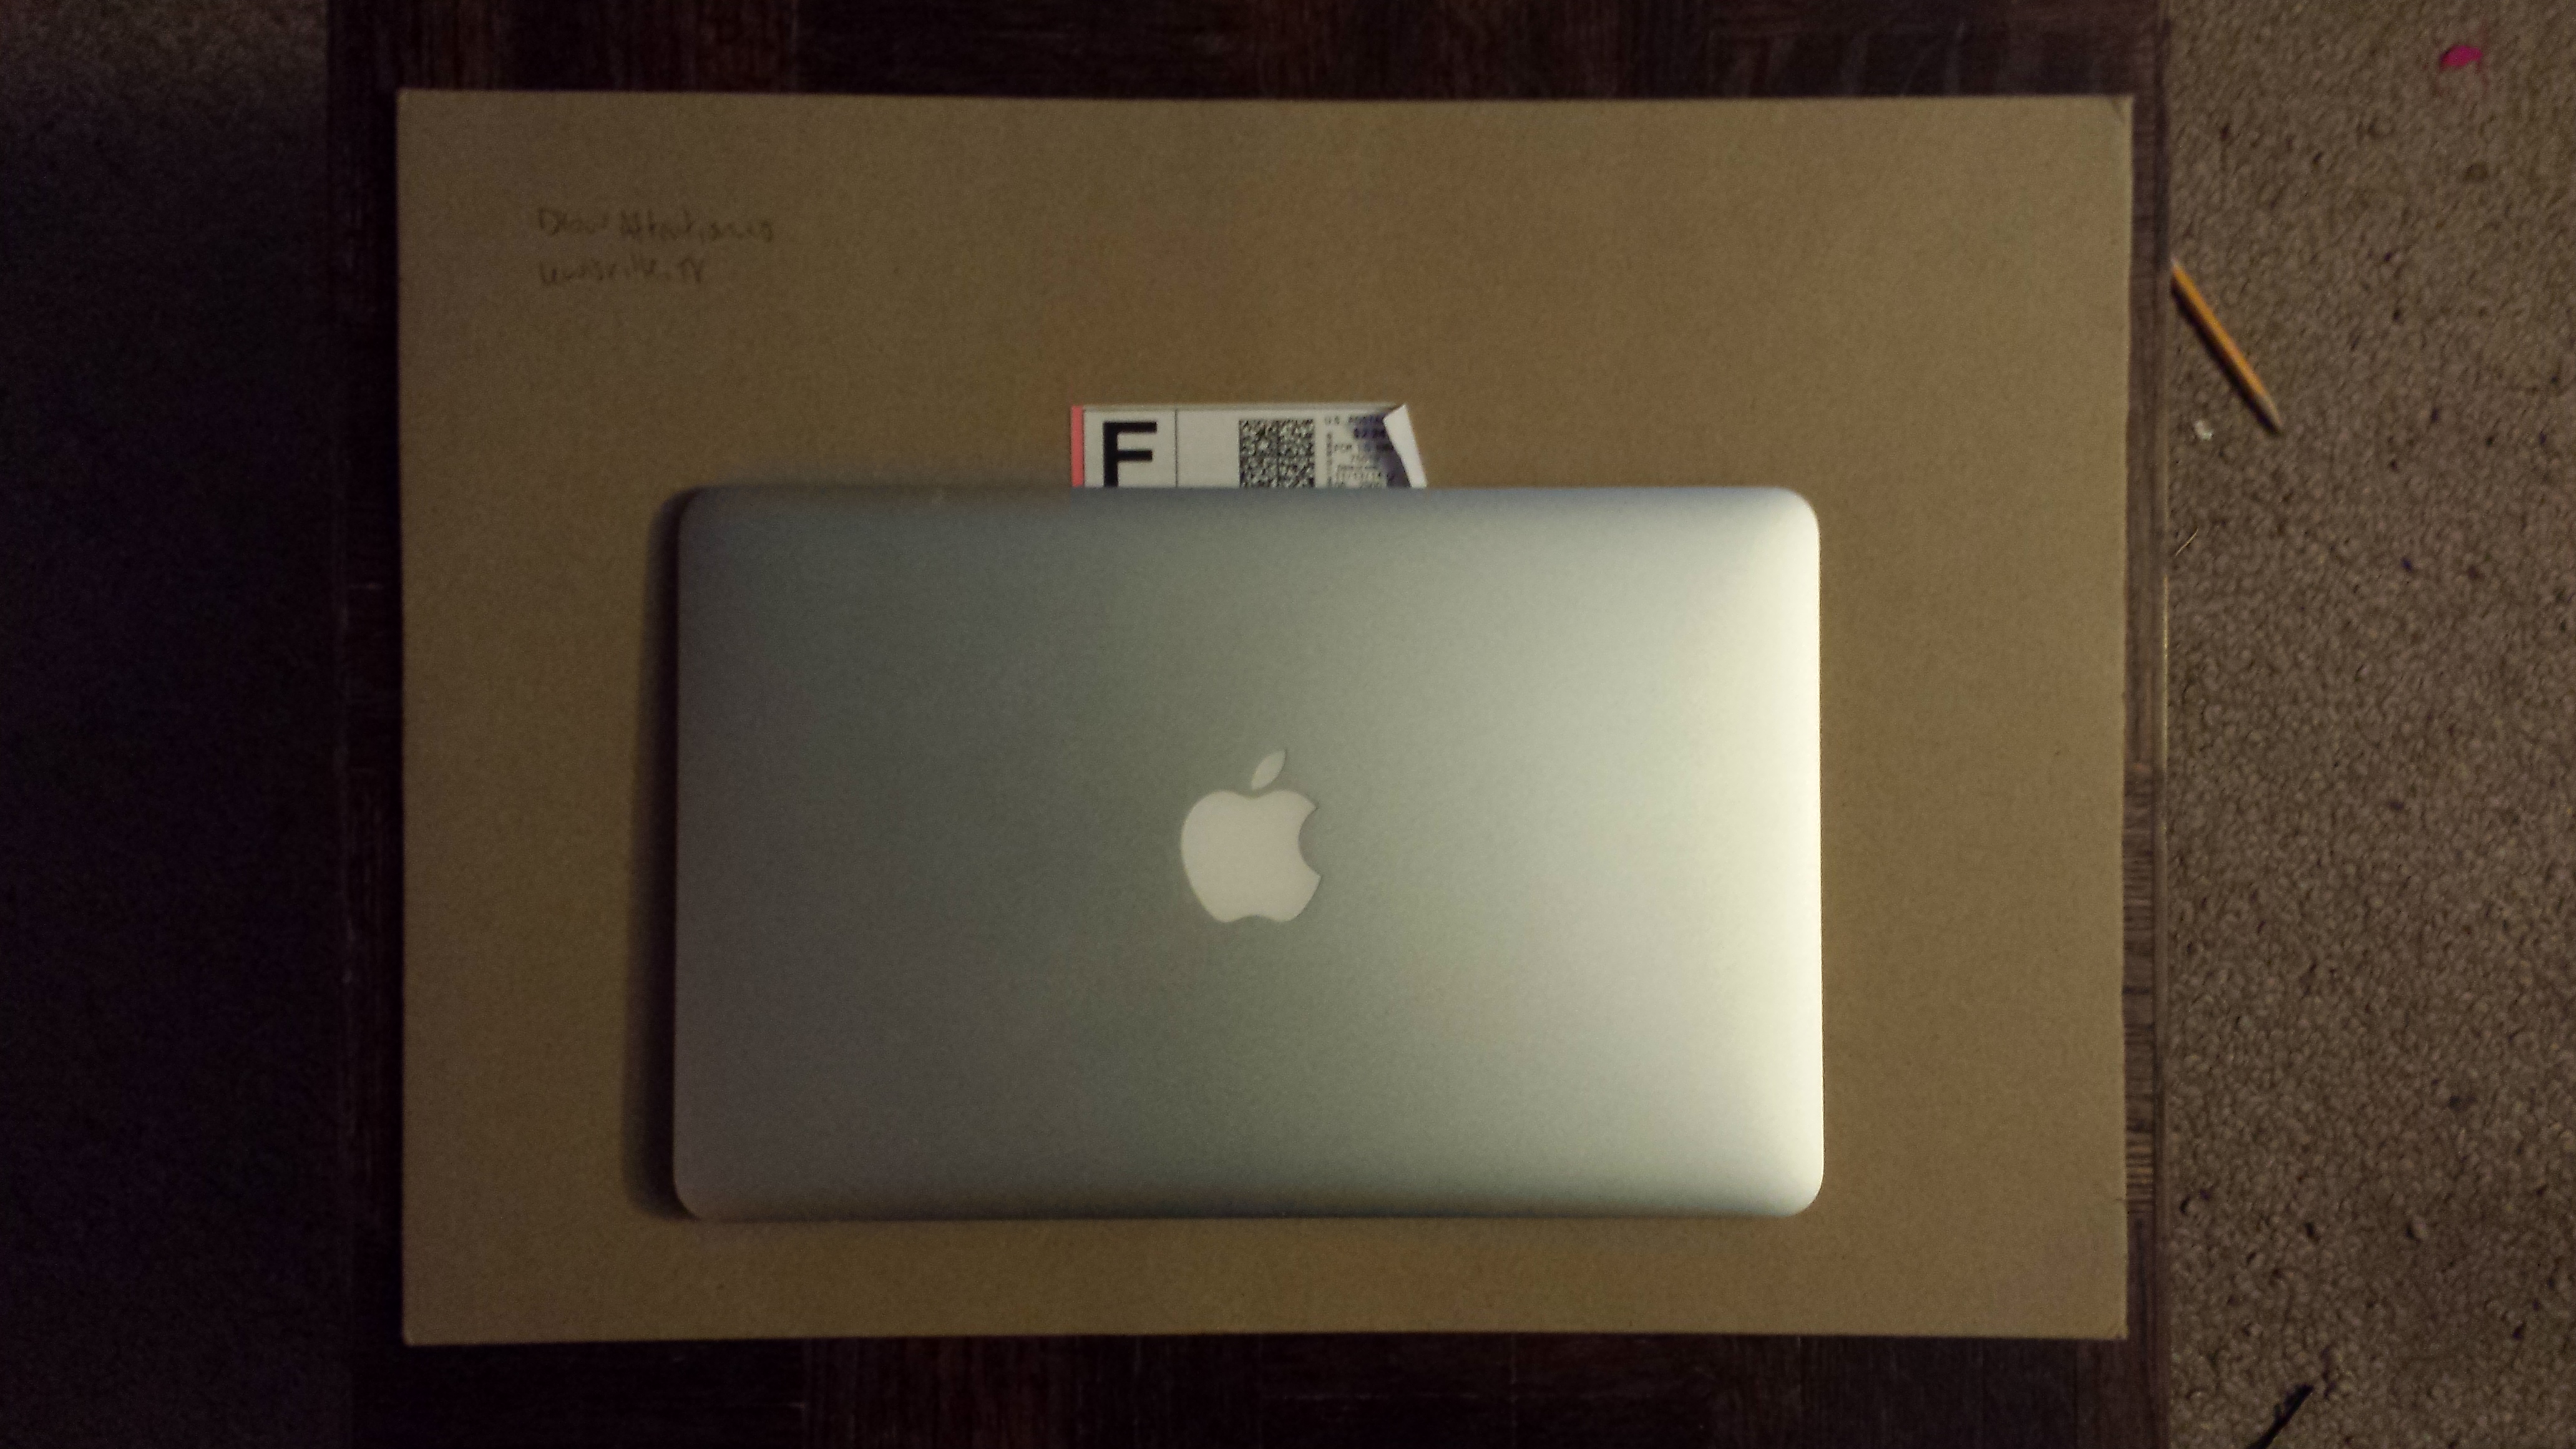
This envelope is much larger than my MacBook Air.
The Envelope’s Contents
What was inside the envelope was much easier to deal with, as you can see here:
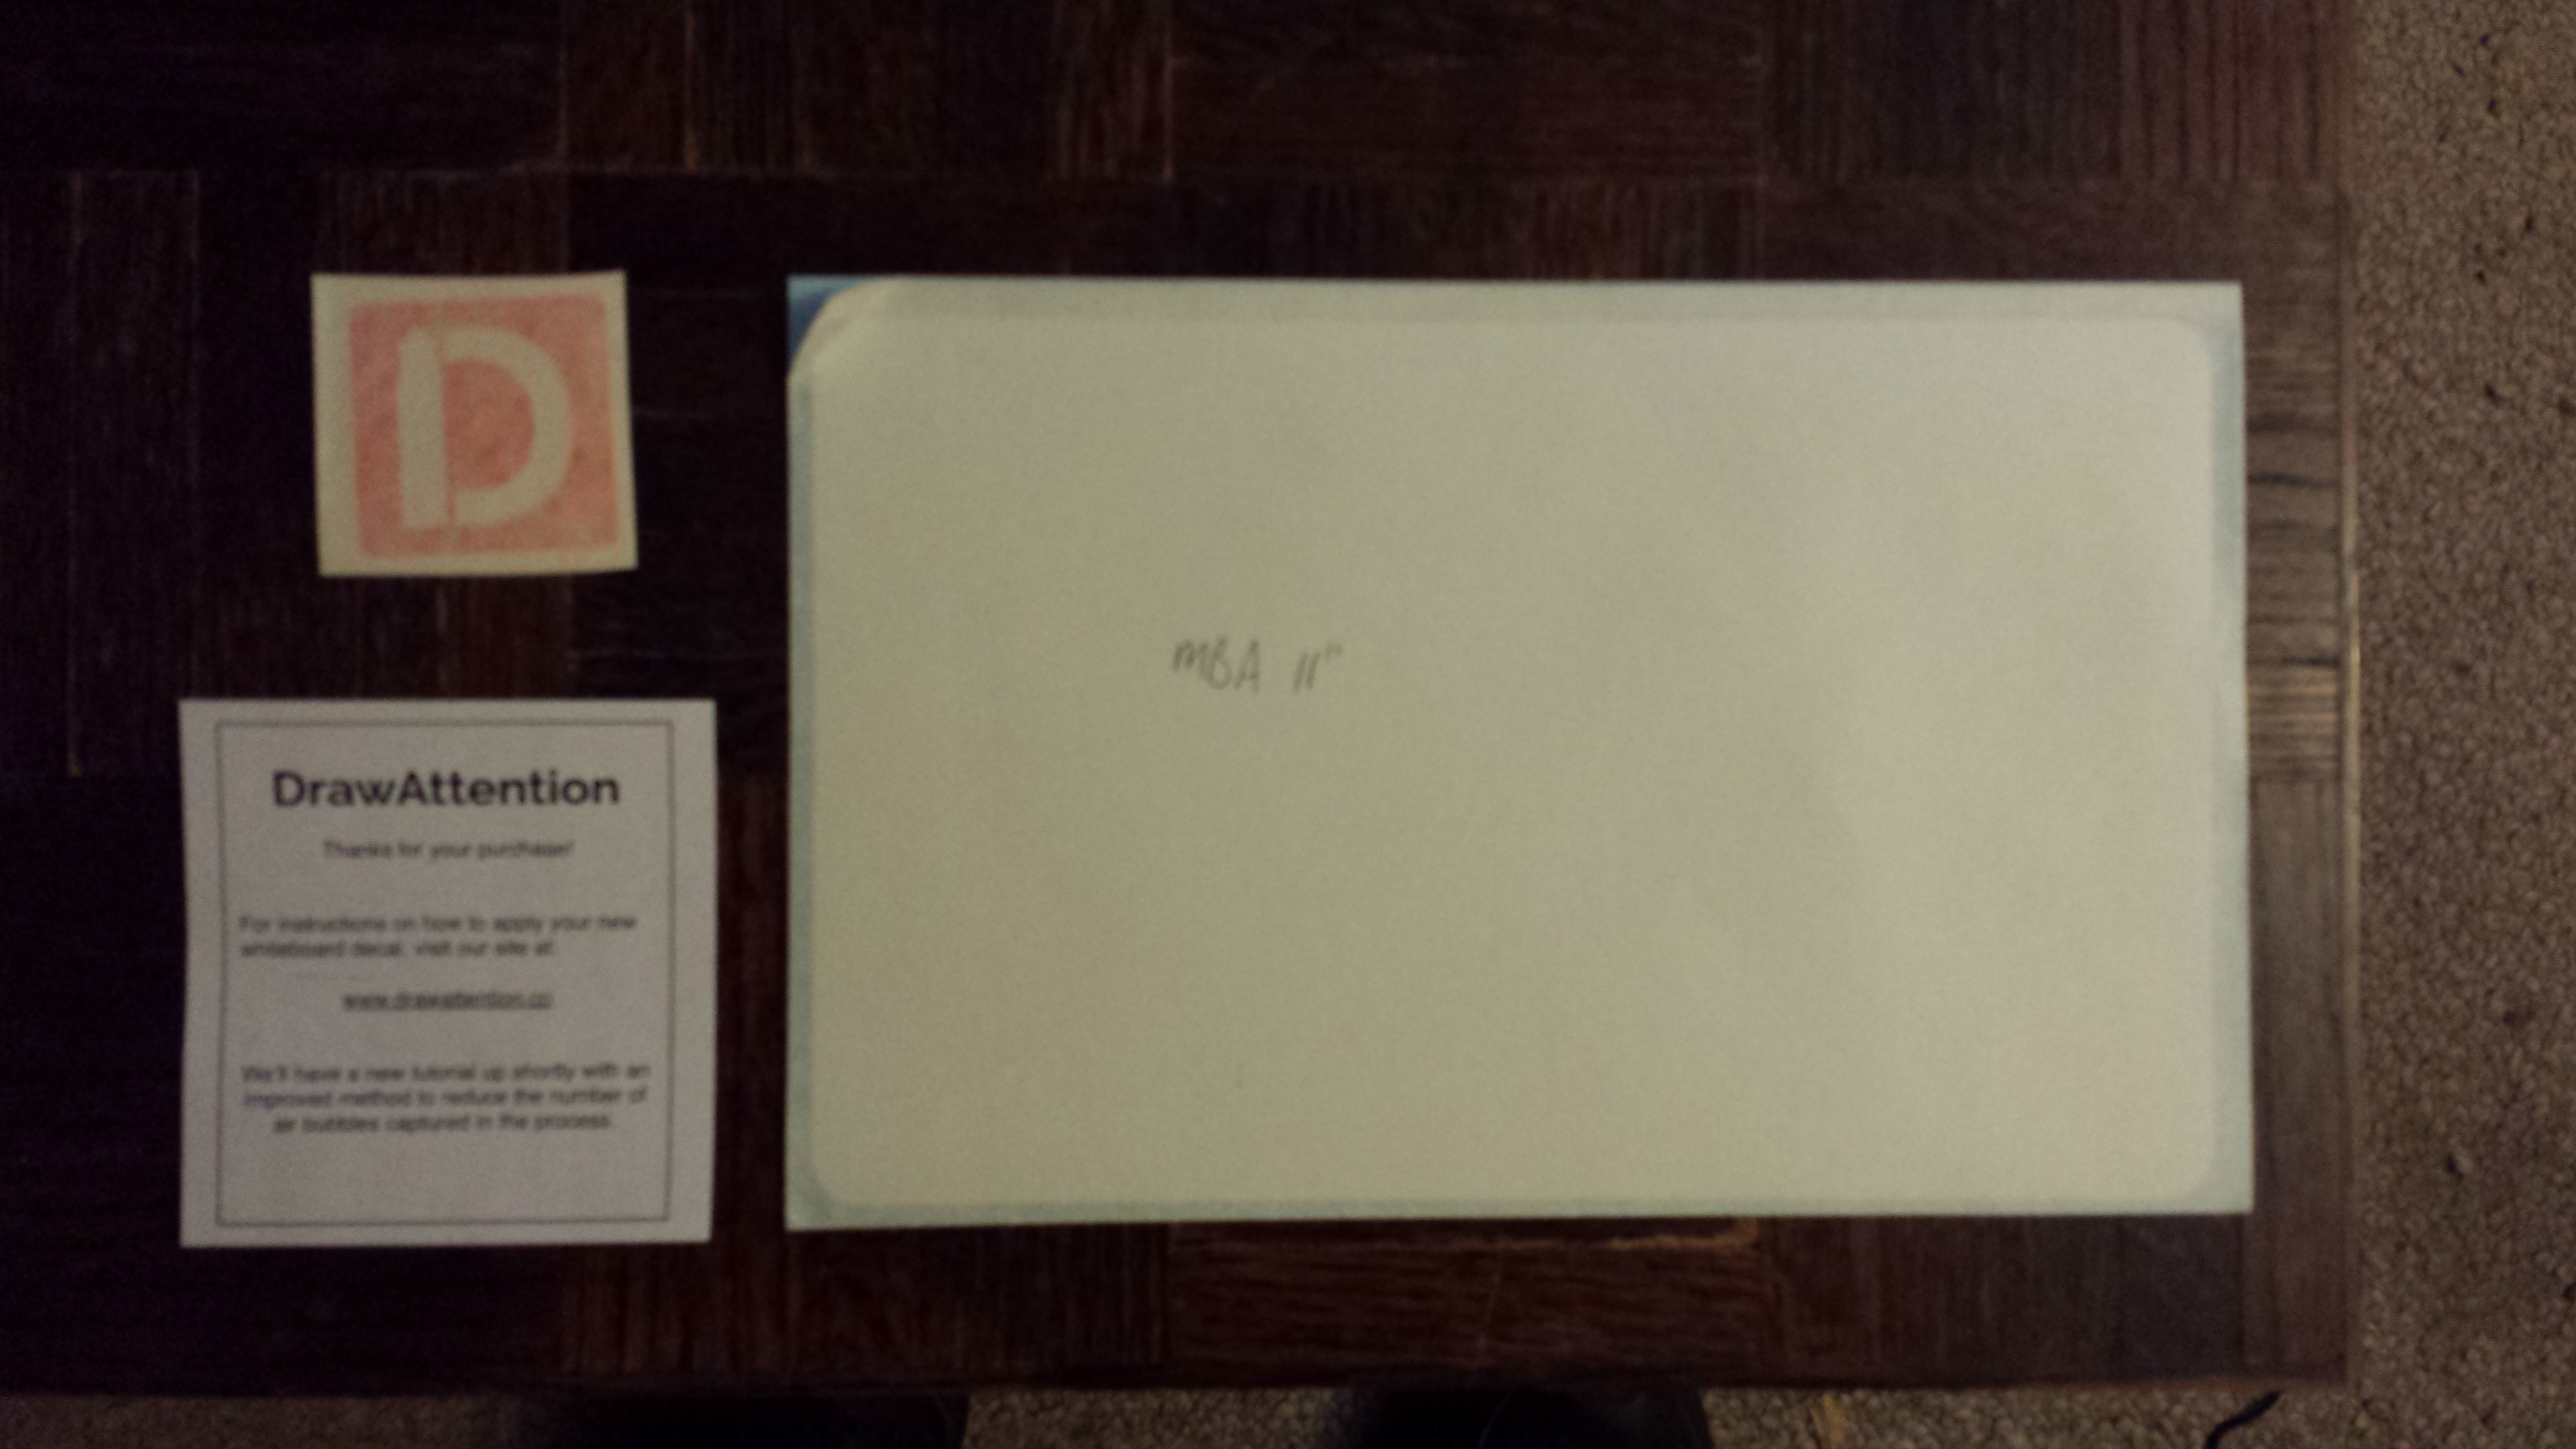
The decal, a bonus decal with the DrawAttention logo, and info on where to find the video instructions for applying.
The whiteboard decal itself comes sandwiched between two sheets, one being the expected decal backing, the other a top-sheet protecting the whiteboard surface of the decal. This top-sheet was perfectly sized to have it act as a guide for placing the decal.
The Instructions
The only instructions for how to apply (install?) the decal are the video instructions on the DrawAttention site. There are plusses and minuses to that.
On the plus side, the video is really clear. A video demo of instructions is the ultimate in “show me, don’t tell me”.
On the minus side, since you’re going to apply the decal to a laptop, you’re likely to use the laptop to watch the instructions. Since you have to close the laptop in order to install the decal, it means you there’s no easy way to refer to the instructions during the installation (application?).
Applying the Decal
My first indication that this wasn’t going to go smoothly came from early on in the instruction video. The narrator mentions that a lot of folks order two — in case they mess up on the first one…
As I mentioned earlier, the top-sheet on the decal was a huge help. It made it easy to ensure that the decal was square with the back of the MacBook. Without it, I feel like I would have likely had a couple false starts.
I found it difficult to apply the decal without air bubbles. I went slowly. I followed the advice from the video, but I still ended up with air bubbles.
Here’s a picture of the decal installed on my MacBook. If you look closely, you can see the air bubbles. There are more on the right side than the left side. Since I applied the decal from right to left, I suppose this means I got better at it as I went.

The decal right after application, air bubbles visible.
The Decal in Action
After applying, I immediately wondered something. Since I’d only be using my MacBook with it powered on (it works far less well when it’s powered off…), would the decal cover up the light-up Apple logo?
No. No, it does not. Not even a little bit, as you can see below.
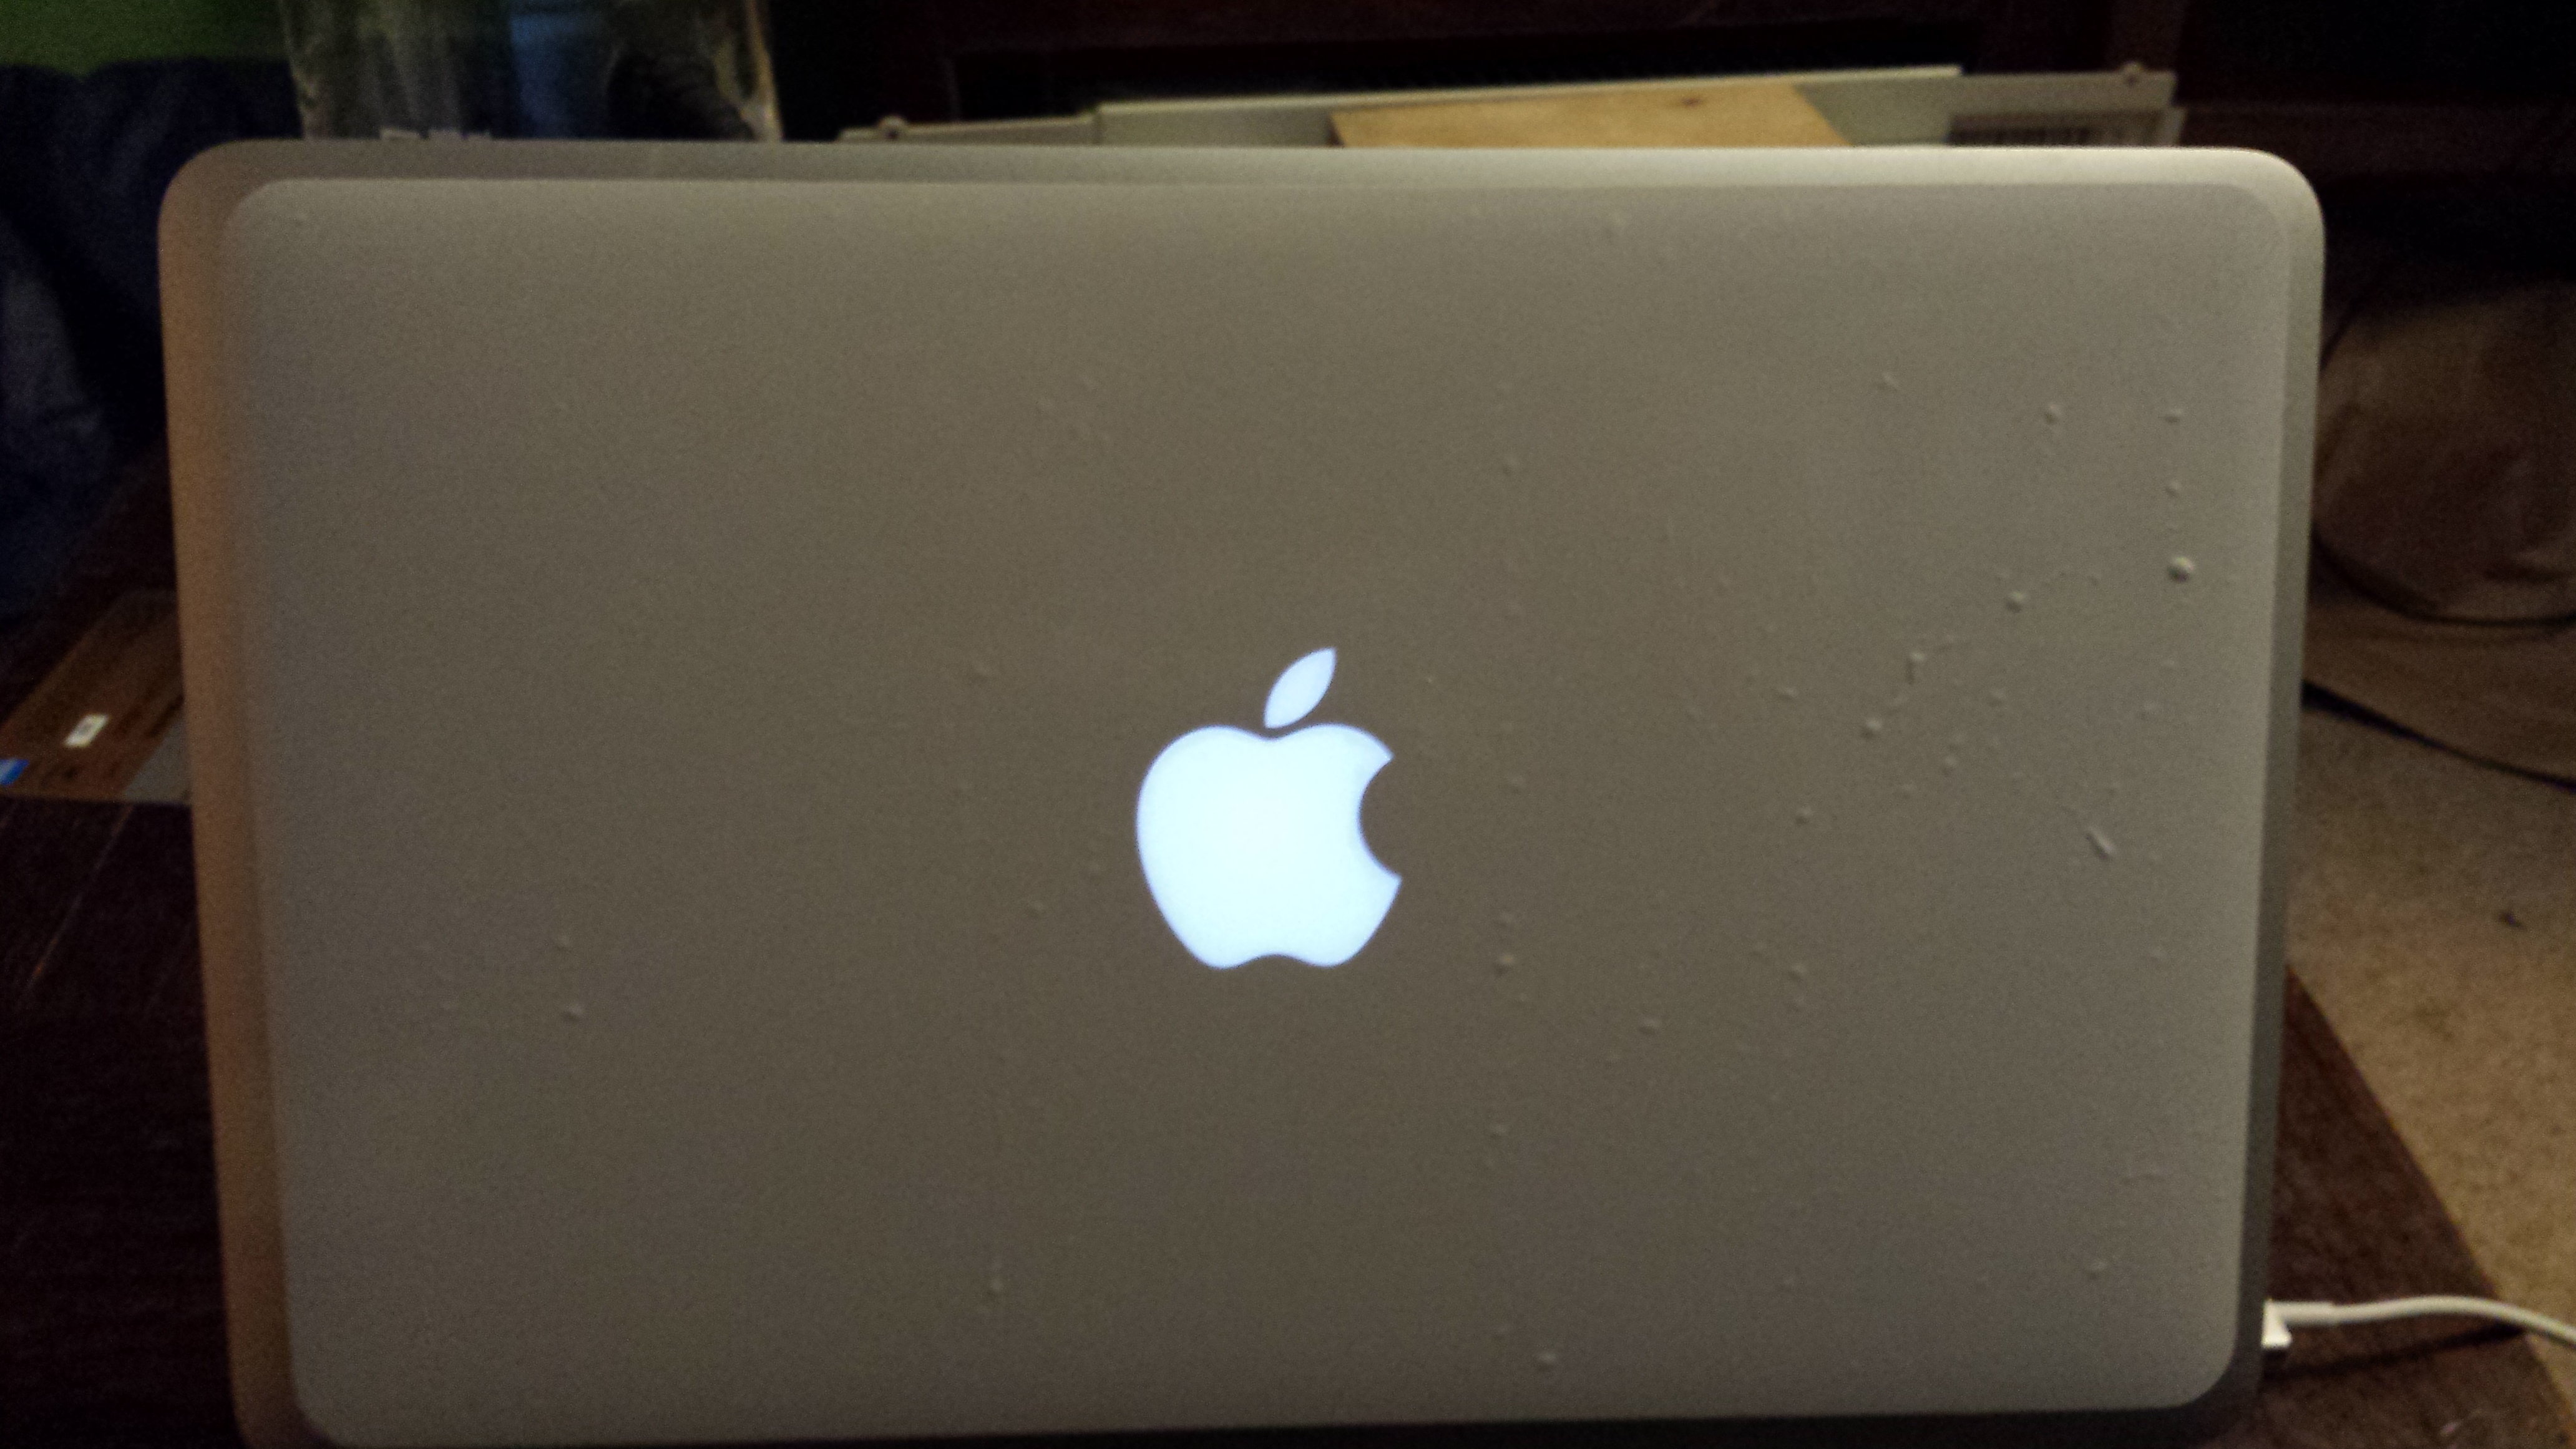
The logo shining through quite clearly.
I’m sure clever whiteboard artists will figure out ways to incorporate this into their drawings, but I really don’t anticipate needing a glowing apple in the middle of anything I’d be likely to want to put on a whiteboard.
Clone #3 was hanging out with me while I was putting the decal on, and he was fascinated by the idea of adding a whiteboard to a computer. Because of his interest, I asked him to help me test-drive it.
How does one test-drive a whiteboard? With a game of Magic Balloon, of course!
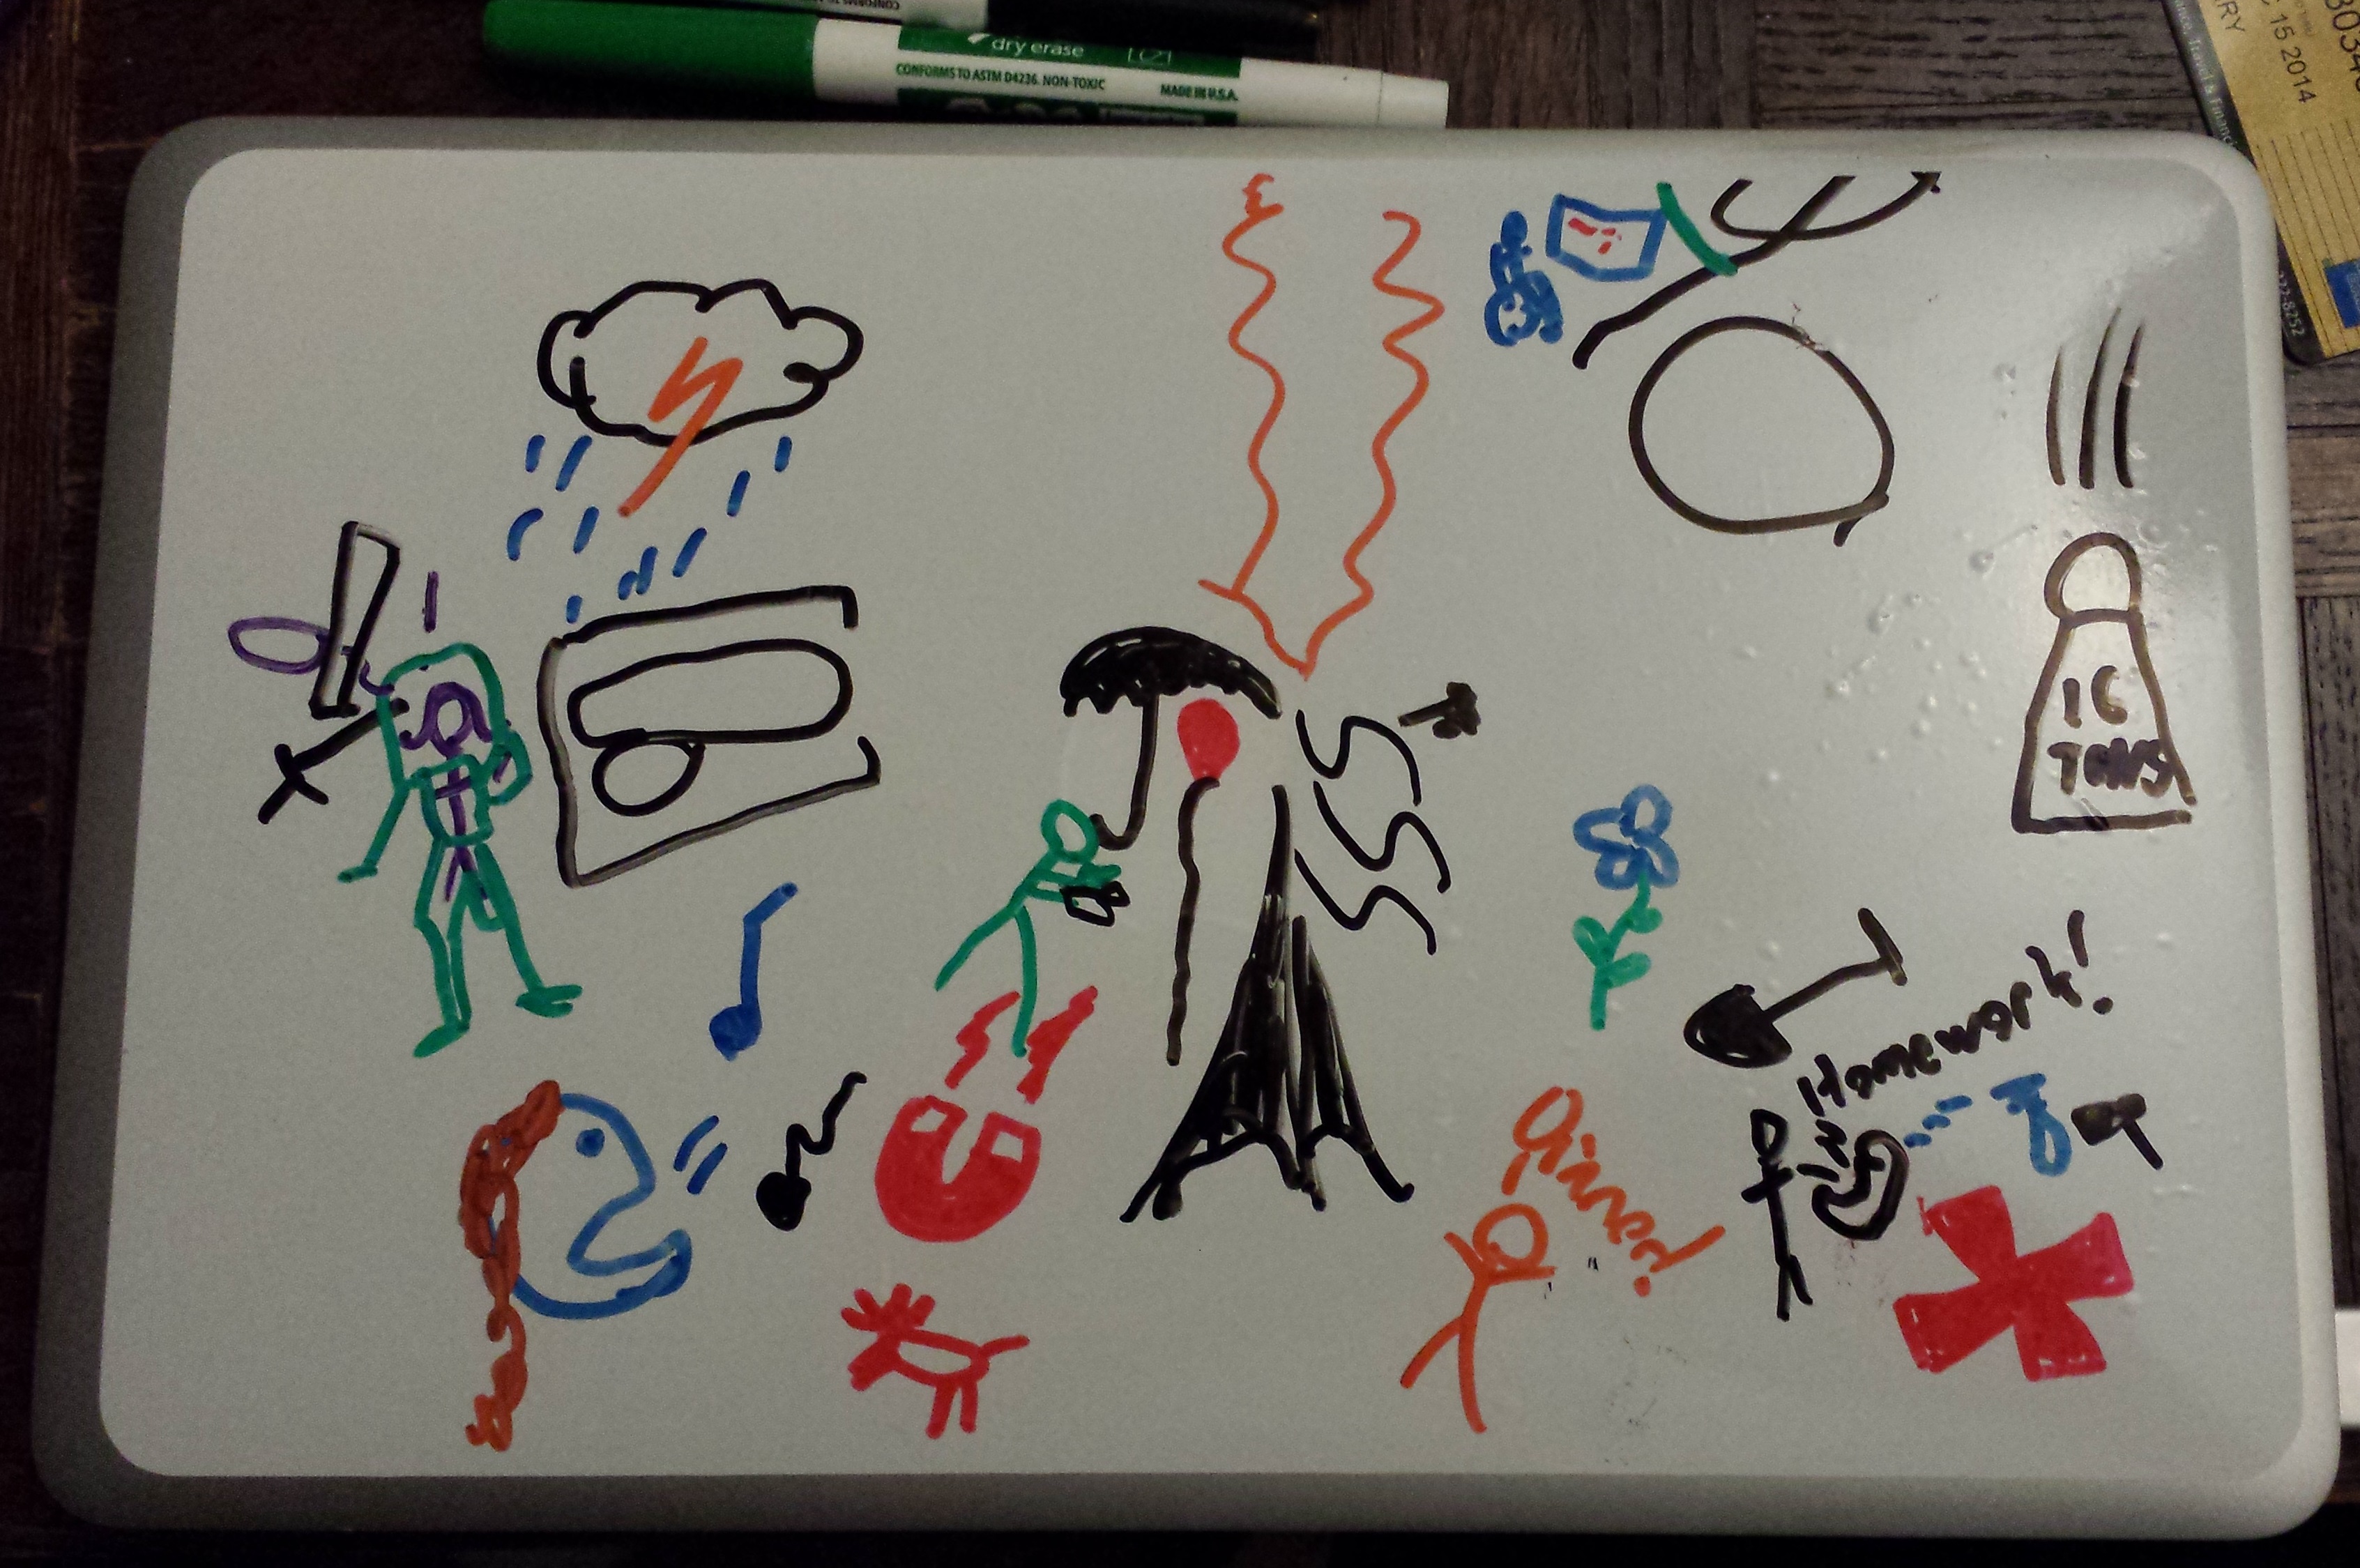
A few of the things featured in this round: Mom in a mech suit, an opera singer, Stephen Hawking using a whiteboard to defeat a black hole, and the stereotypical 16-ton weight.
As you can see, the whiteboard functionality works quite well.
After that, I thought I’d try testing it out how I might actually end up using it:

Hopefully, I’ll never actually be reduced to this.
Clone #3 followed up by demonstrating a message he thought I’d be more likely to actually use:
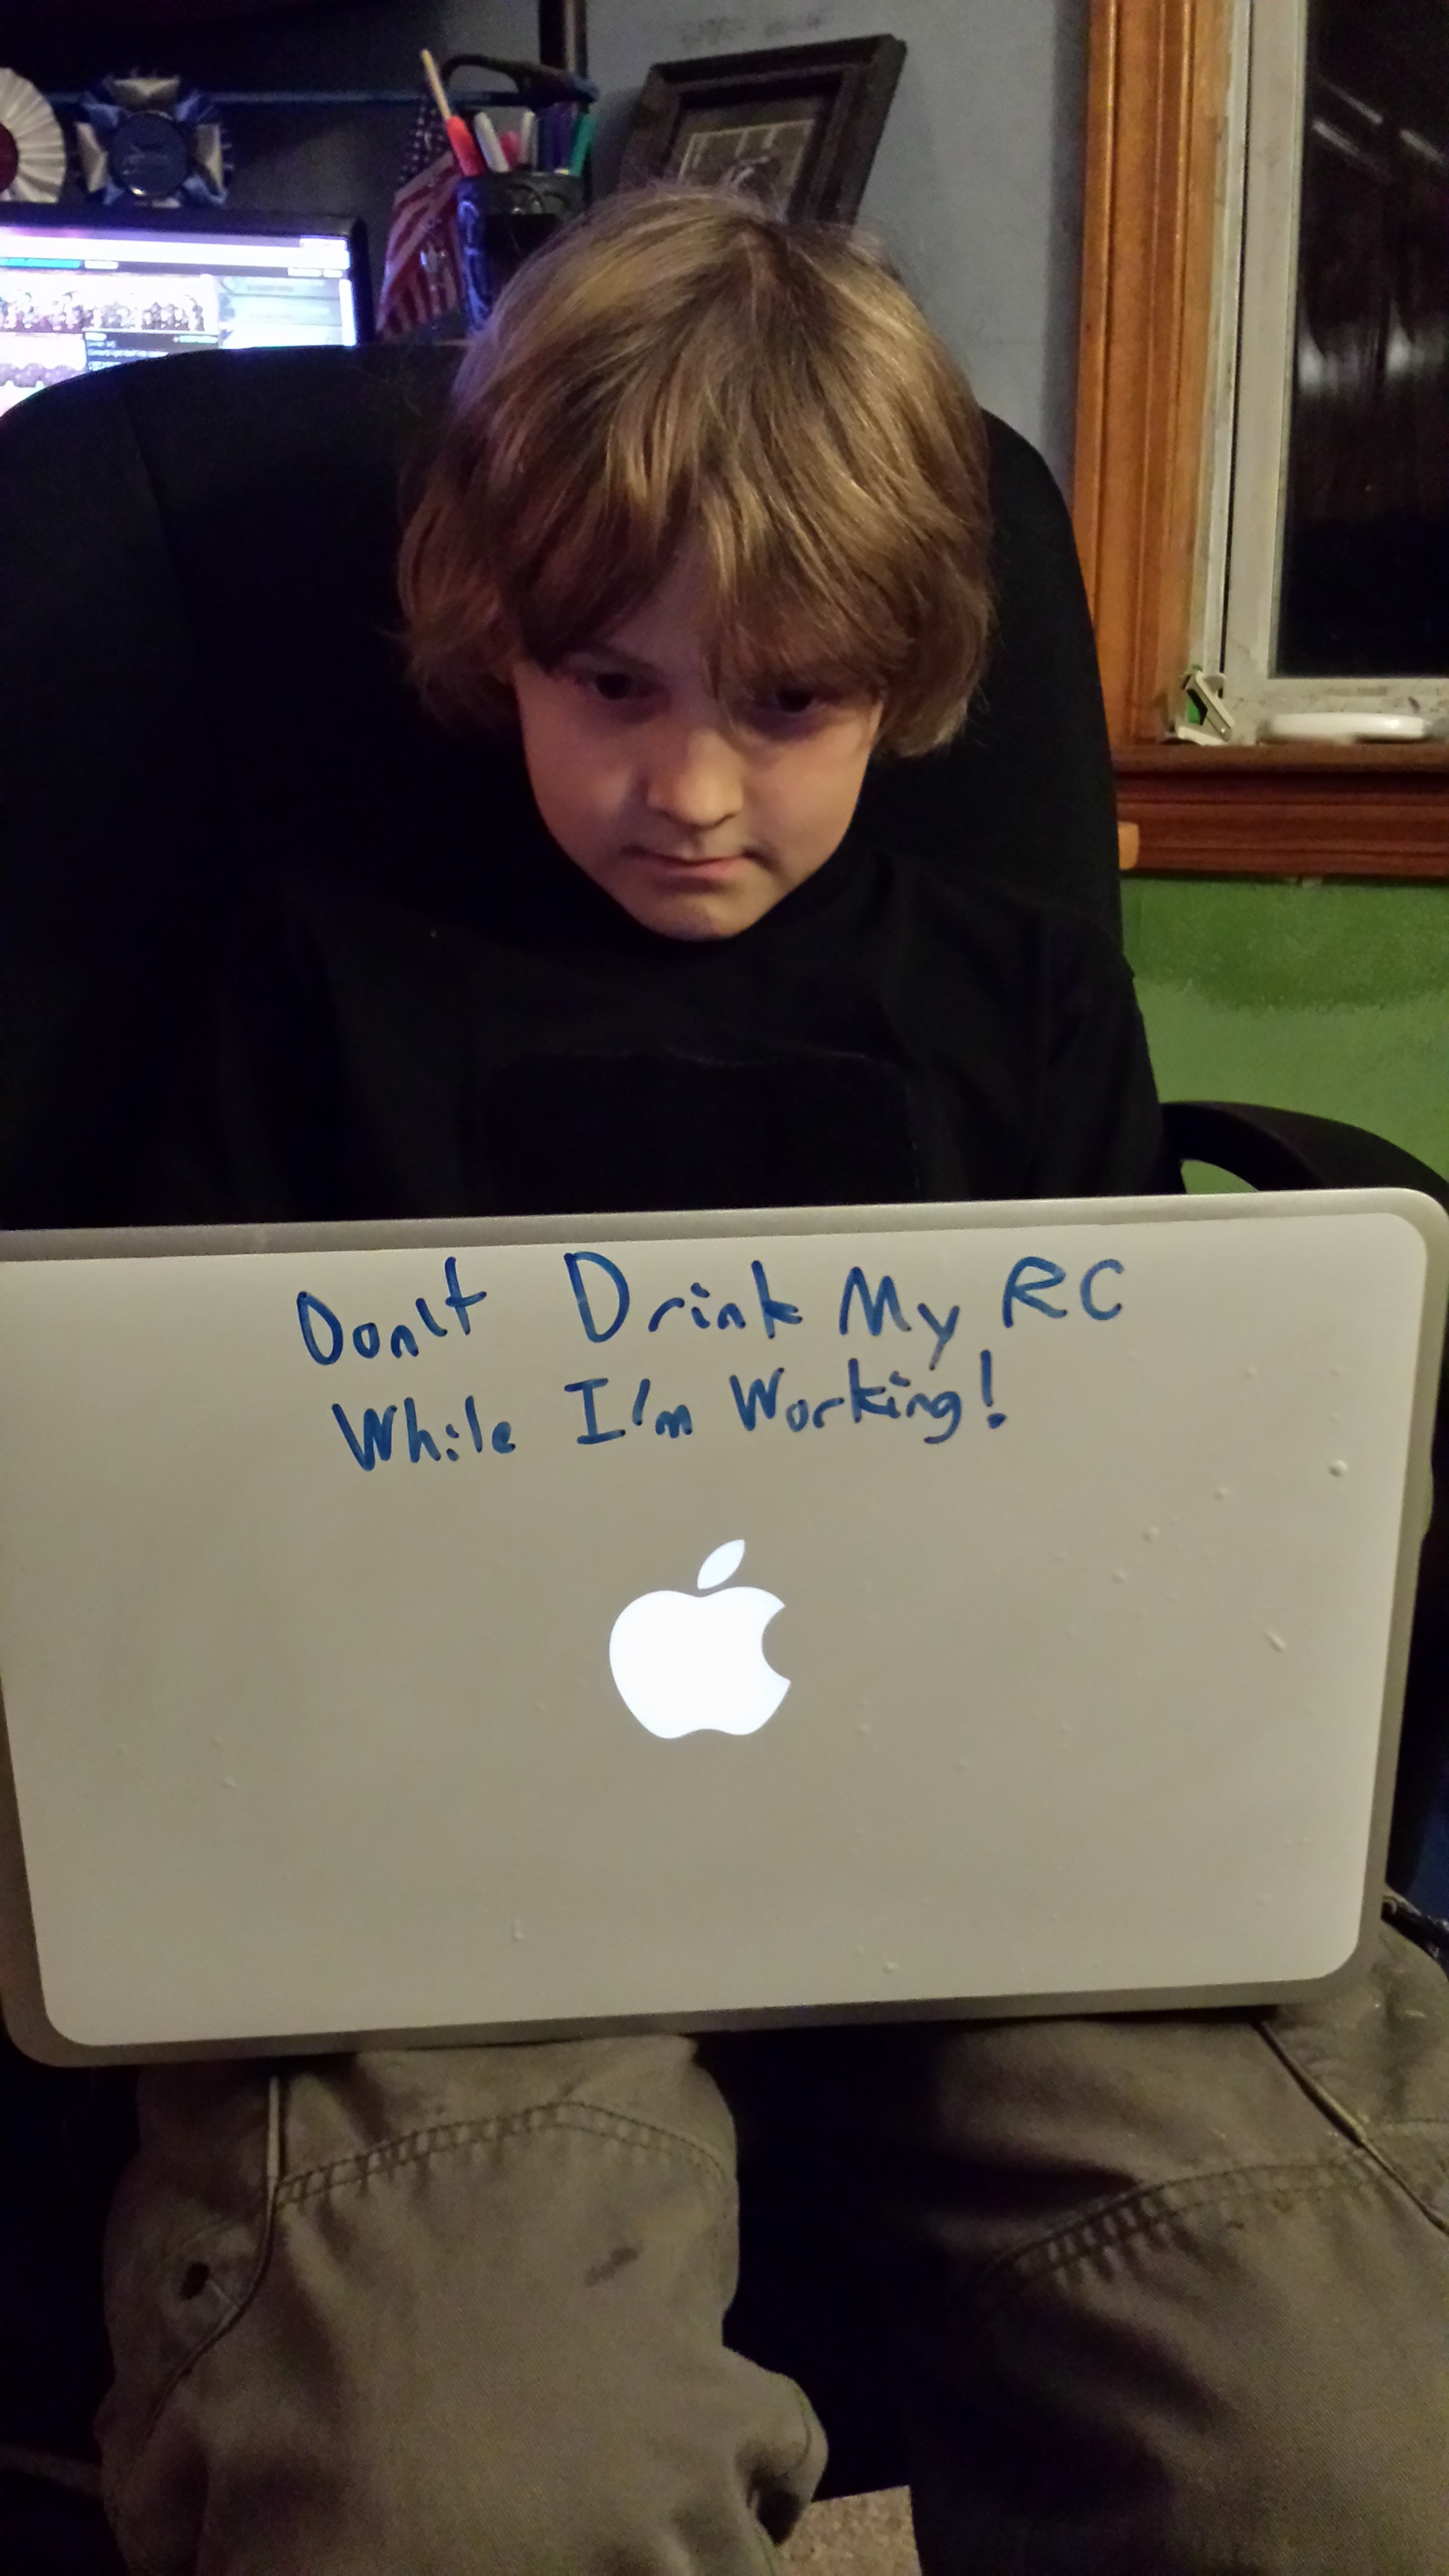
He’s right — that’s some solid advice.
The Bottom Line
In the final analysis, what do I think of the product?
Am I happy I got one for my MacBook? Yes, I am.
Am I likely to get one for my work laptop? No, but that has to do with its stickers, not the product.
Am I likely to get one for my other personal laptop, or my iPad, or any of the Android tablets? No, probably not.
Overall, the decal performs as advertised. There’s a whiteboard surface on my MacBook now — what’s not to like? If you like whiteboards as much as I do, and have a steadier hand at applying decals than I do, you’d like it. If you don’t like whiteboards as much as I do, well, you probably don’t see the point of this product anyway.
If you want to learn more, check out the DrawAttention site.