[NOTE: I did not develop this process. I’ve simply expanded on instructions I originally received in email from my colleague, Andrew Boggs. Thanks to Andrew for the tip.]
If you’re like me, you have a company-issued Windows laptop. If you, further like me, sometimes need to connect to the console of Isilon nodes, this “How To” is for you.
What You’ll Need
- Your Windows Laptop
- A USB-to-DB9 (female) null modem cable
- A terminal emulation application
The Cable
If you’re planning ahead, I suggest that you simply purchase a USB-to-DB9 (female) null modem cable like this one available on Amazon. It will look much better (and less old-school) than mine:
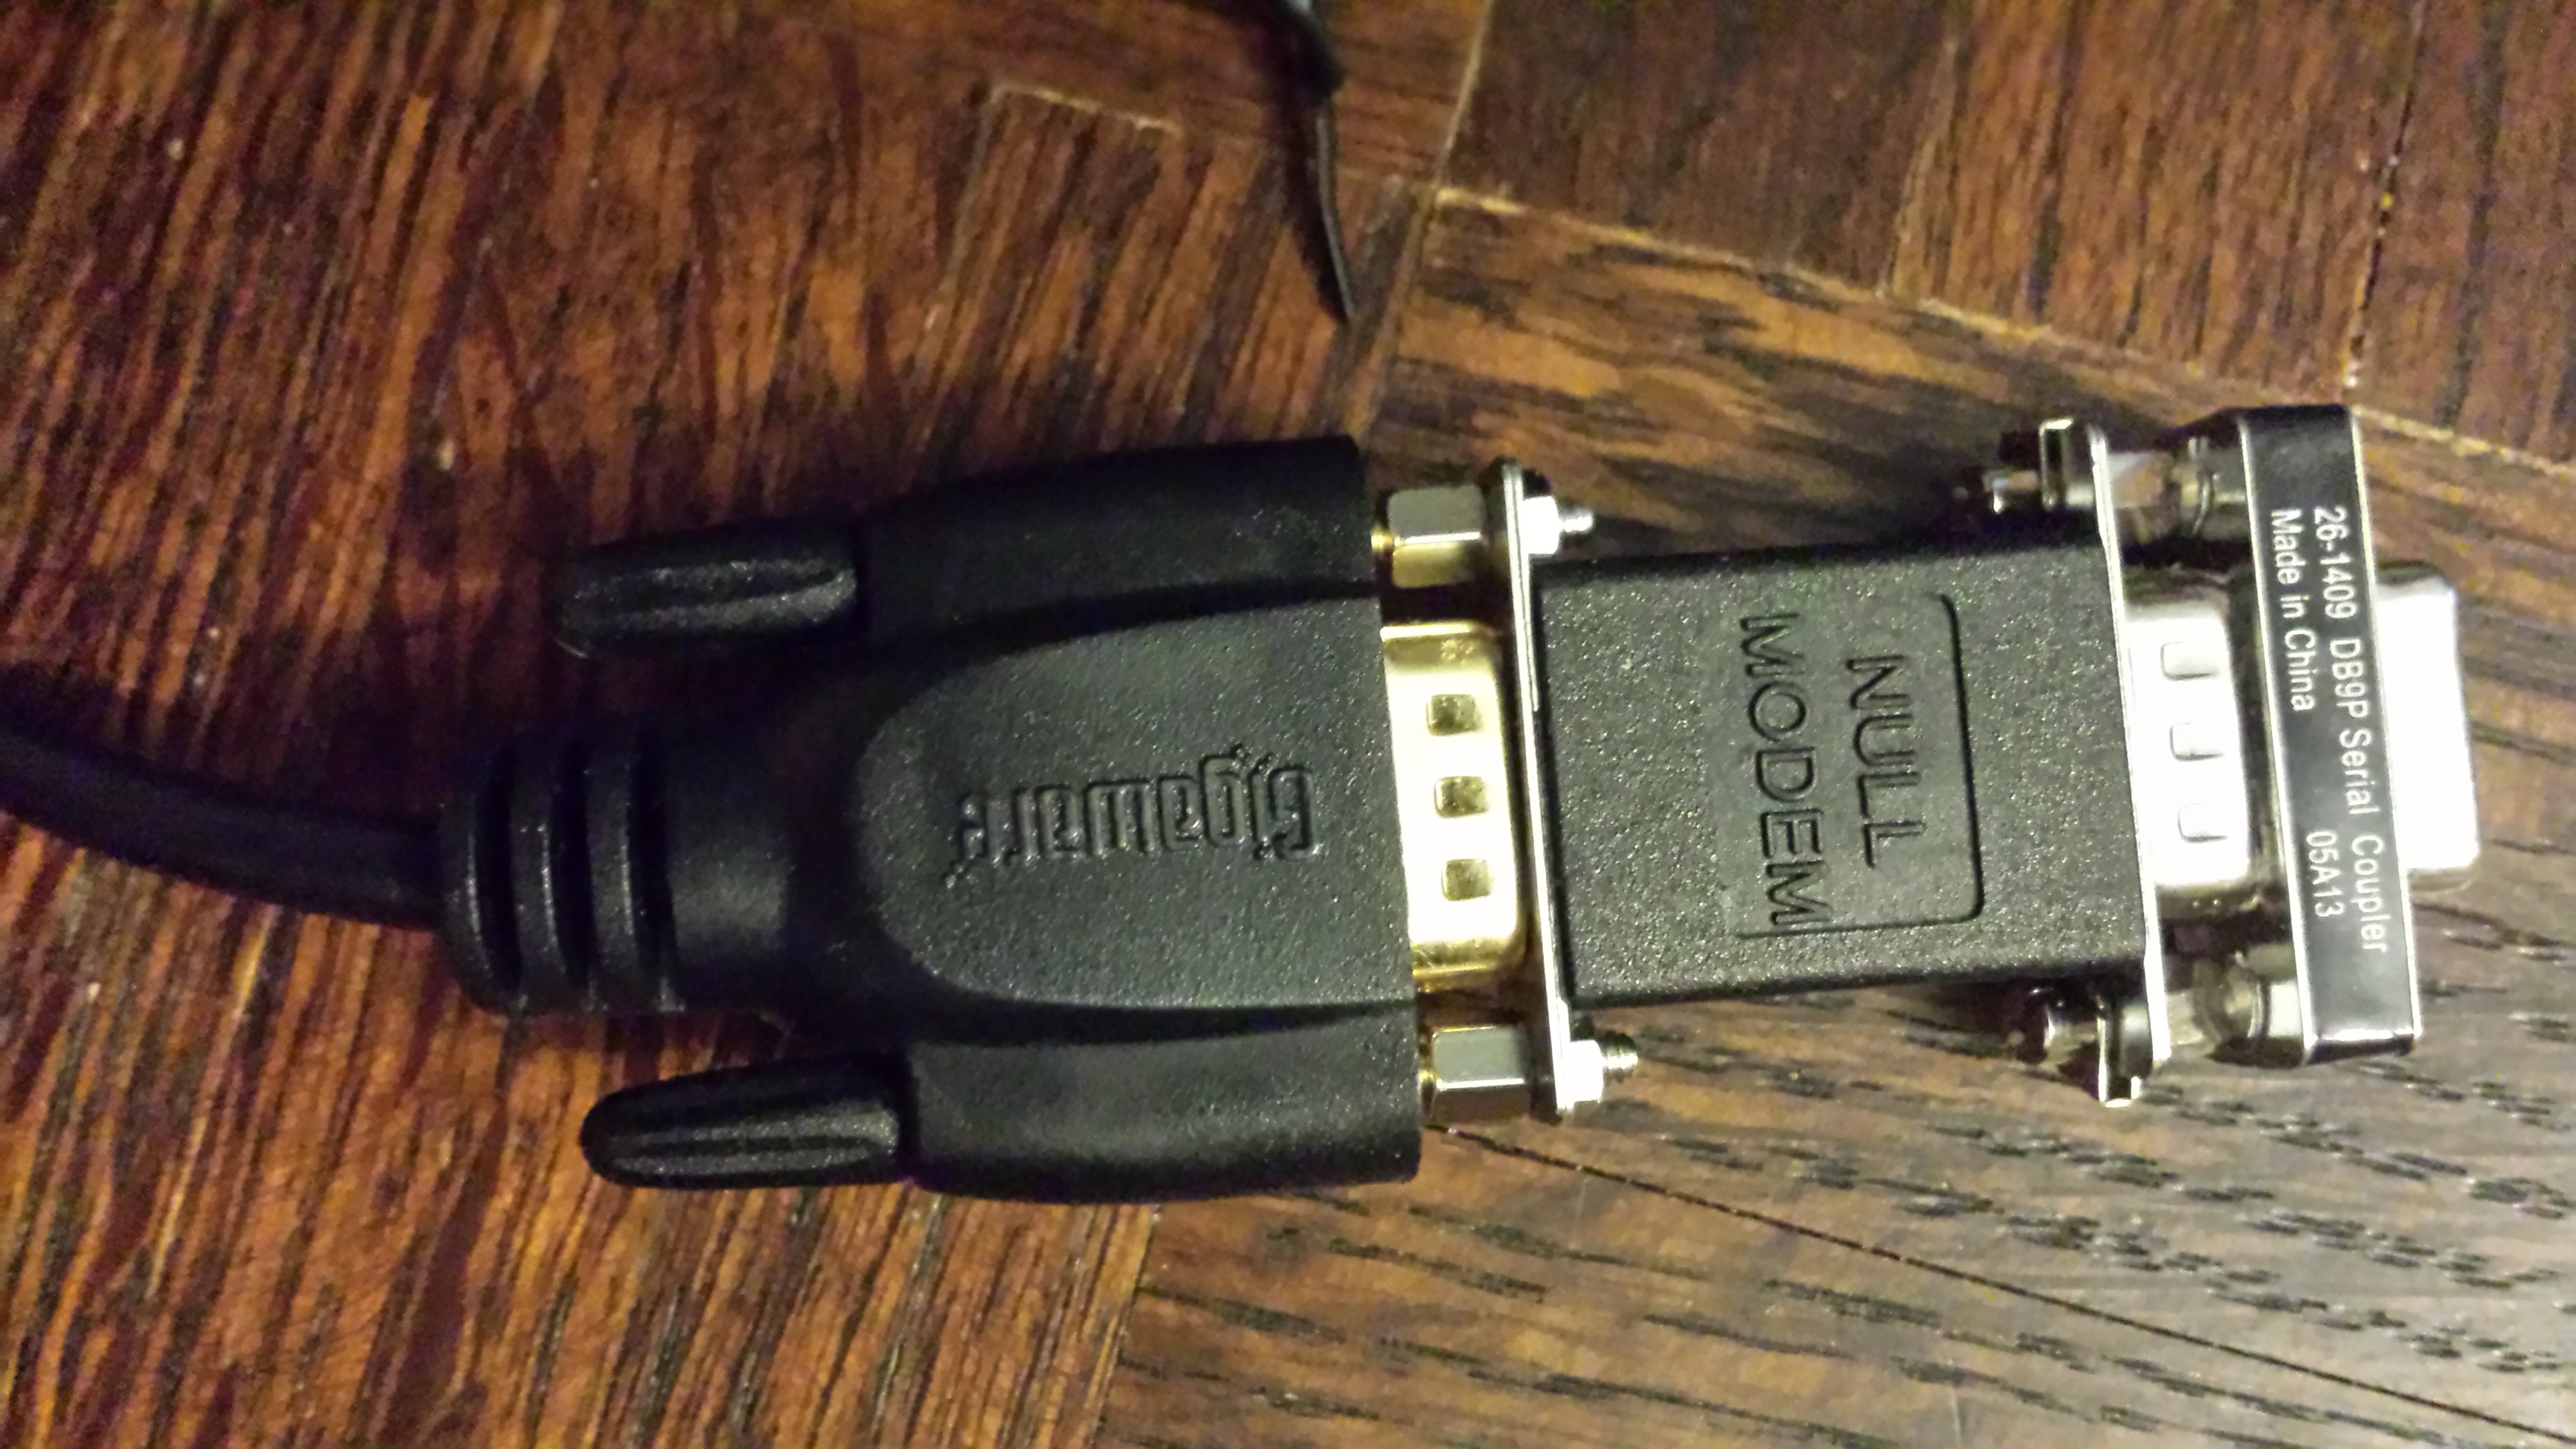
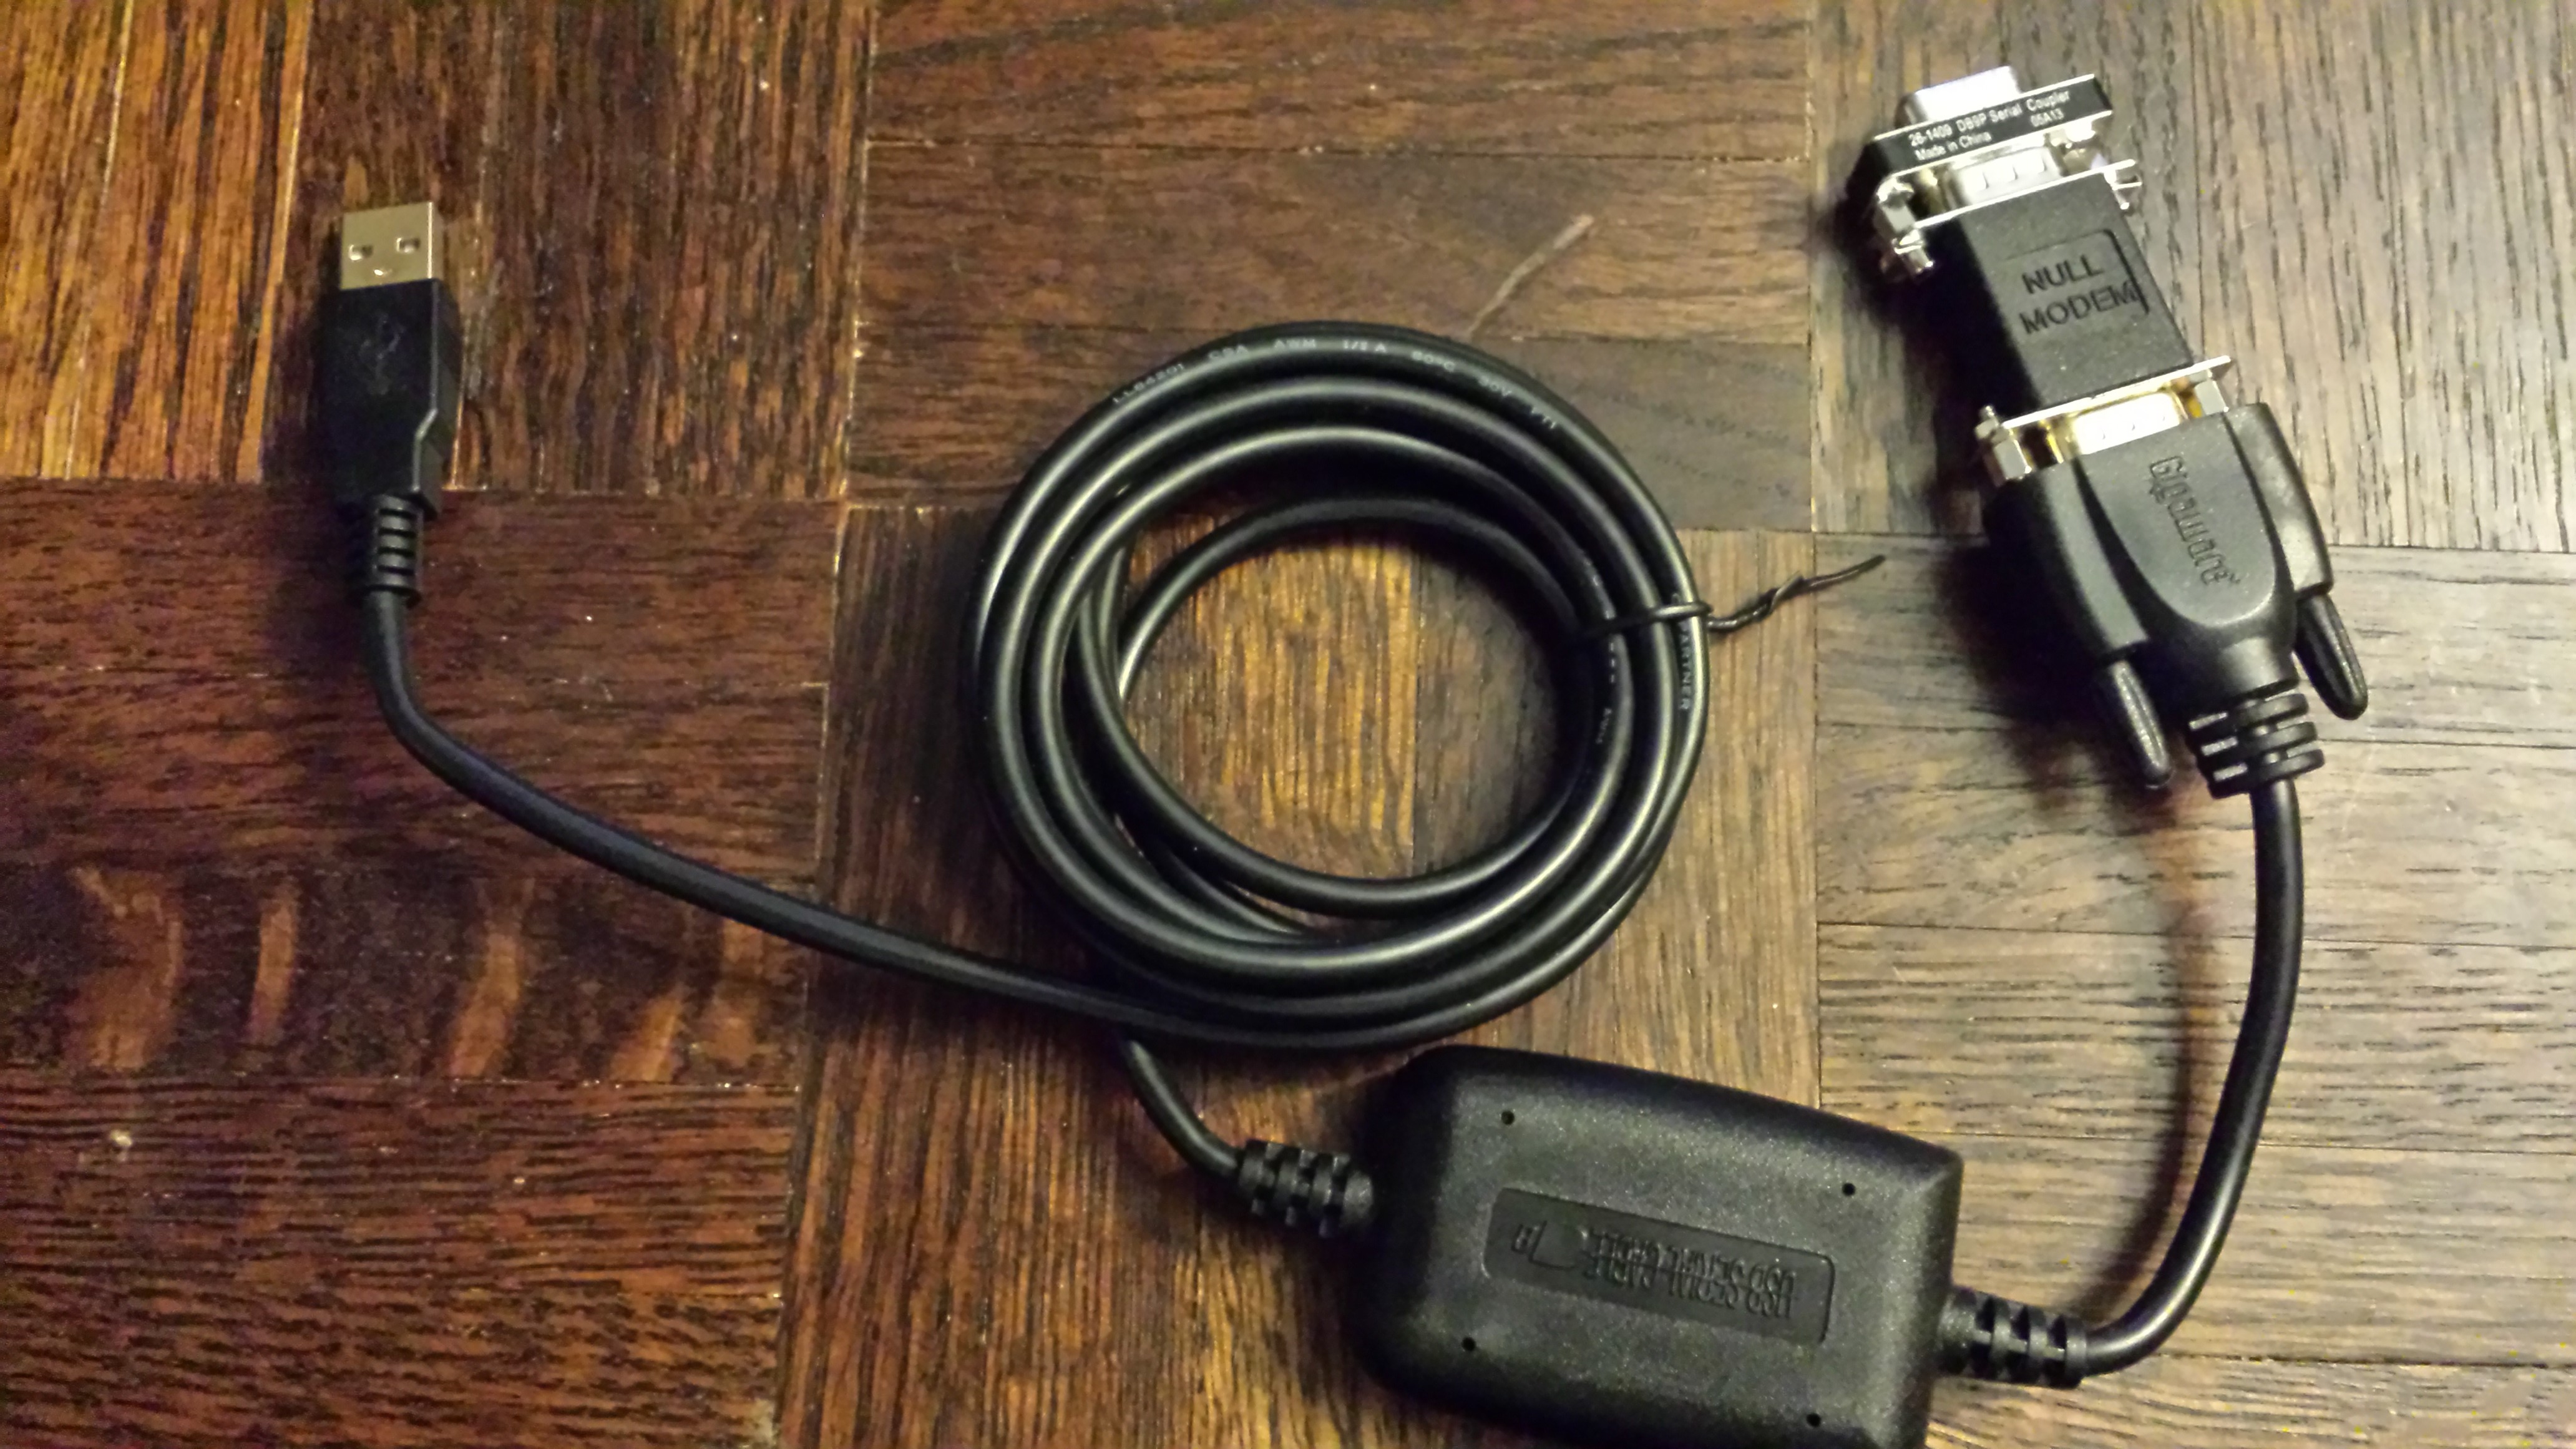 I ended up shopping for a cable the day before I needed to go onsite to a customer’s data center, so, unable to locate the right cable locally, I ended up with:
- A USB-to-DB9 (male) straight-through cable
- A null modem adapter
- A DB9 (female) / DB9 (female) “genderbender” adapter
as can be seen from left to right in the picture below:
Terminal Emulation
I suggest you use putty. While most folks know it as an SSH client for Windows, it also does telnet and serial connections. If you don’t already have it on your laptop, you should download it immediately. You’ll find plenty more uses for it than described in this post.
In order to create the terminal settings in putty, you’ll need to know which COM port your laptop thinks your USB cable is using. If you’re not sure, there’s a handy utility called USBDeview that you can download from NirSoft. This will give you info on any USB devices connected to your laptop.
For example, running it on my laptop gives me a lot of info, including this:
 So, I see that my cable uses COM5.
Start up putty.
First, go to the “Terminal” settings by clicking “Terminal” under “Category” on the left-hand side.
Make sure your settings are like mine, below. The most important thing is to ensure that the “Answerback to ^E” is completely blank. Empty. No spaces, nothing. On some OneFS 6.5.x systems, having any data in the answerback will hang the connected node during a reboot. This will mess up your node order during a cluster build, or confuse a cluster upgrade.

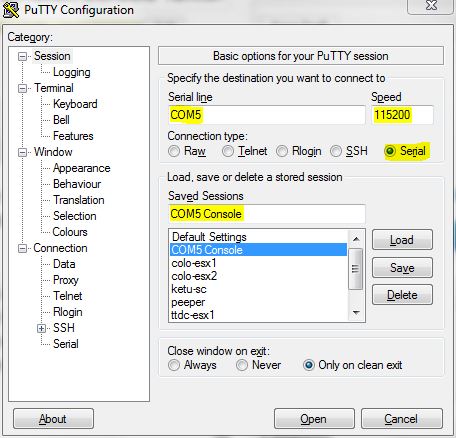
Next, configure the basic session options by selecting “Session” under “Category” on the left-hand side.
- For “Connection Type”, select “Serial”
- For “Serial line”, use the COM port for your cable – in my case, COM5
- For “Speed”, use “115200”
- Under “Saved Sessions”, pick a name for the session that will help you remember what it’s for later. I chose “COM5 Console”, but you might pick something like “Isilon Console” – whatever works for you.
as below:
 Click “Save”. This will preserve your settings for easy future use.
When you get into the data center, plug the USB end of the cable into your laptop, the DB9 end to the console port on the Isilon node you’ll be working on, and fire up putty. Select the session you created in the steps above, and click “Open”, and you’ll be connected to the Isilon console.